Organize notes
Stashpad makes it easy to manipulate your notes. Reorder notes within a stash, move notes to a different stash, or assign a color to your notes - all without needing to leave your keyboard.
| Action | Hotkey |
|---|---|
| Create a stash | cmd / ctrl N |
| Convert a note into a stash (open in tab) | → |
| Reorder | cmd / ctrl ↑ |
| Move to stash | M |
| Assign color | L |
| Mark done | X |
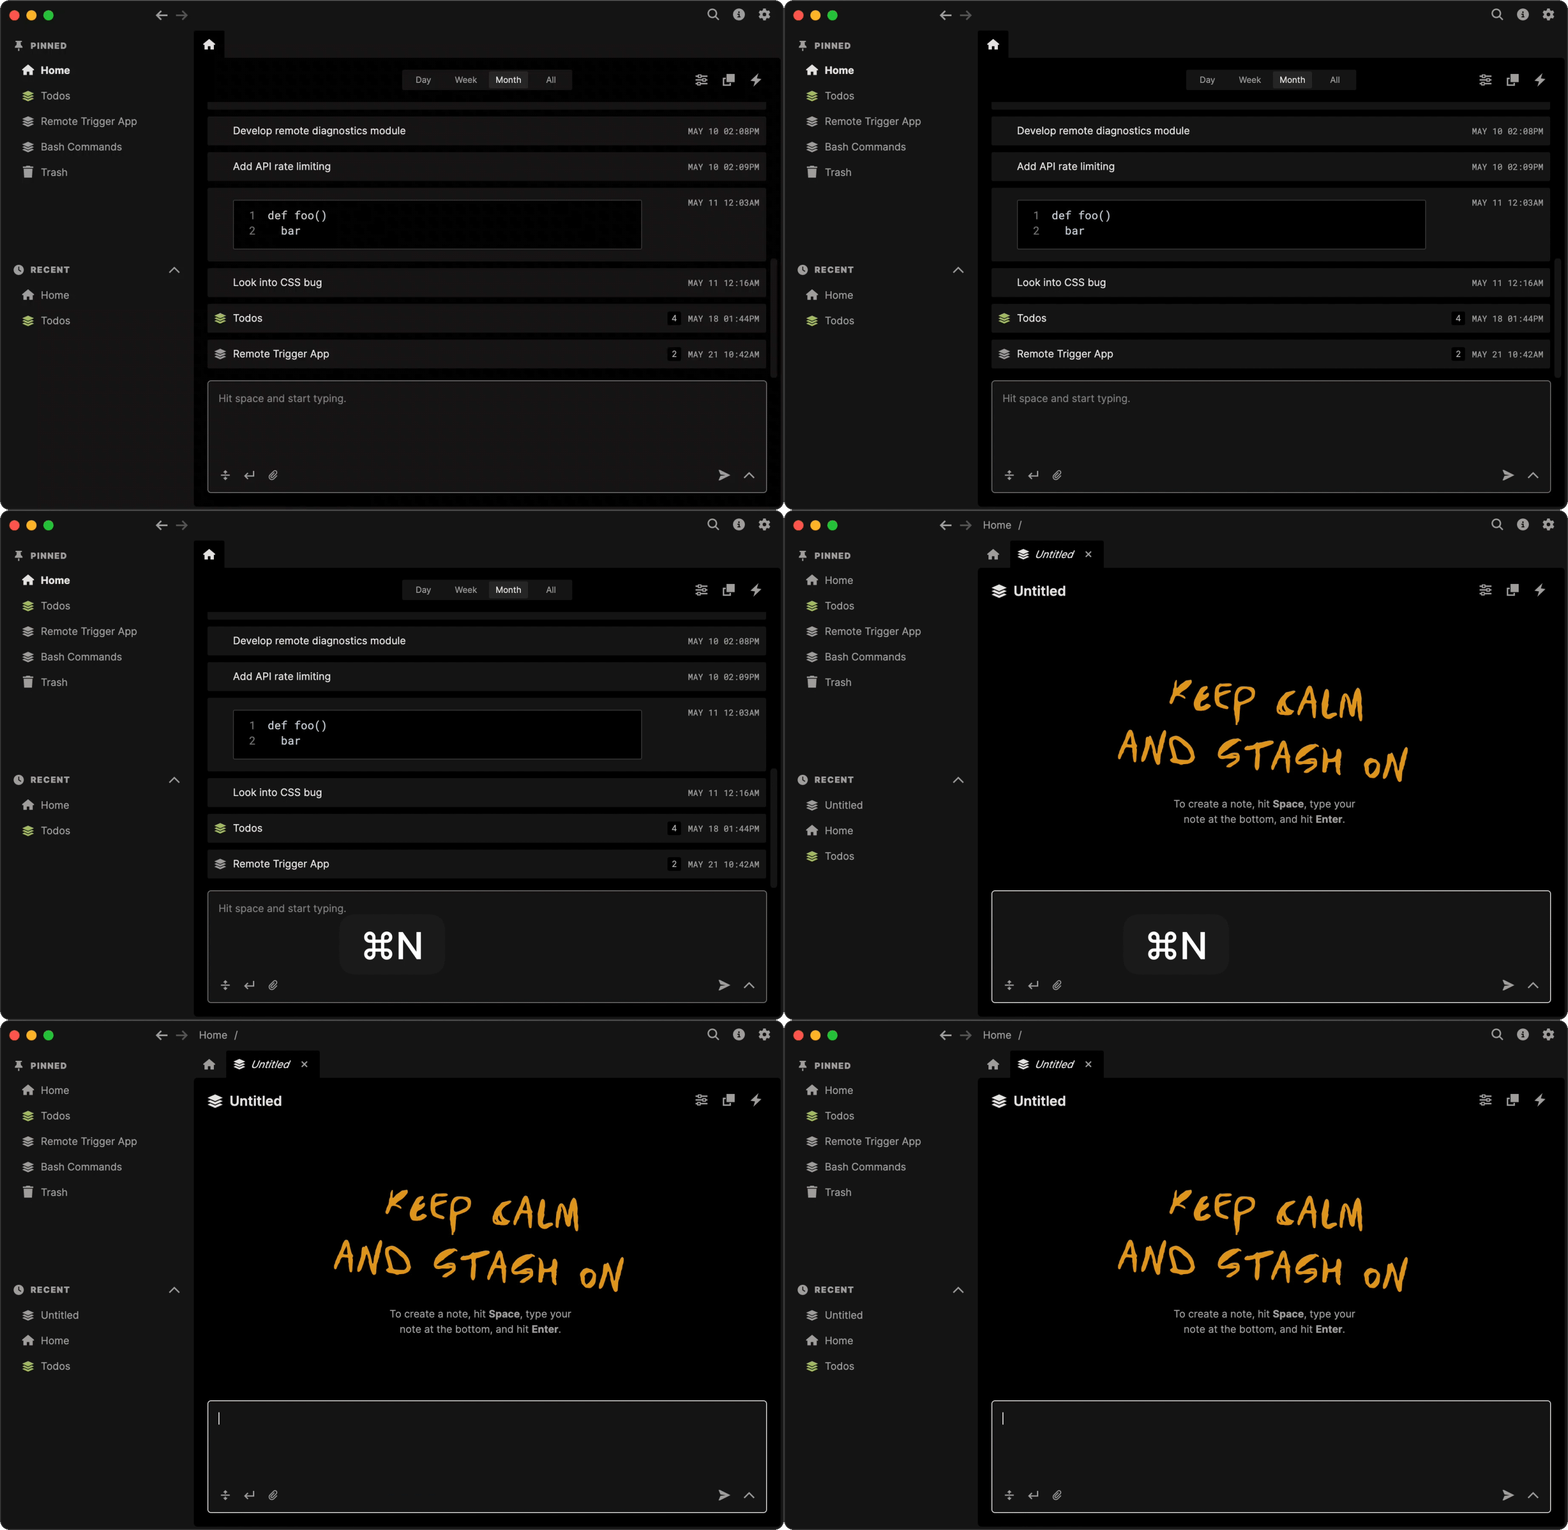
Create a stash
Hit cmd / ctrl N.
Alternatively, use your right click context menu or cmd / ctrl K menu to select the option "New stash".

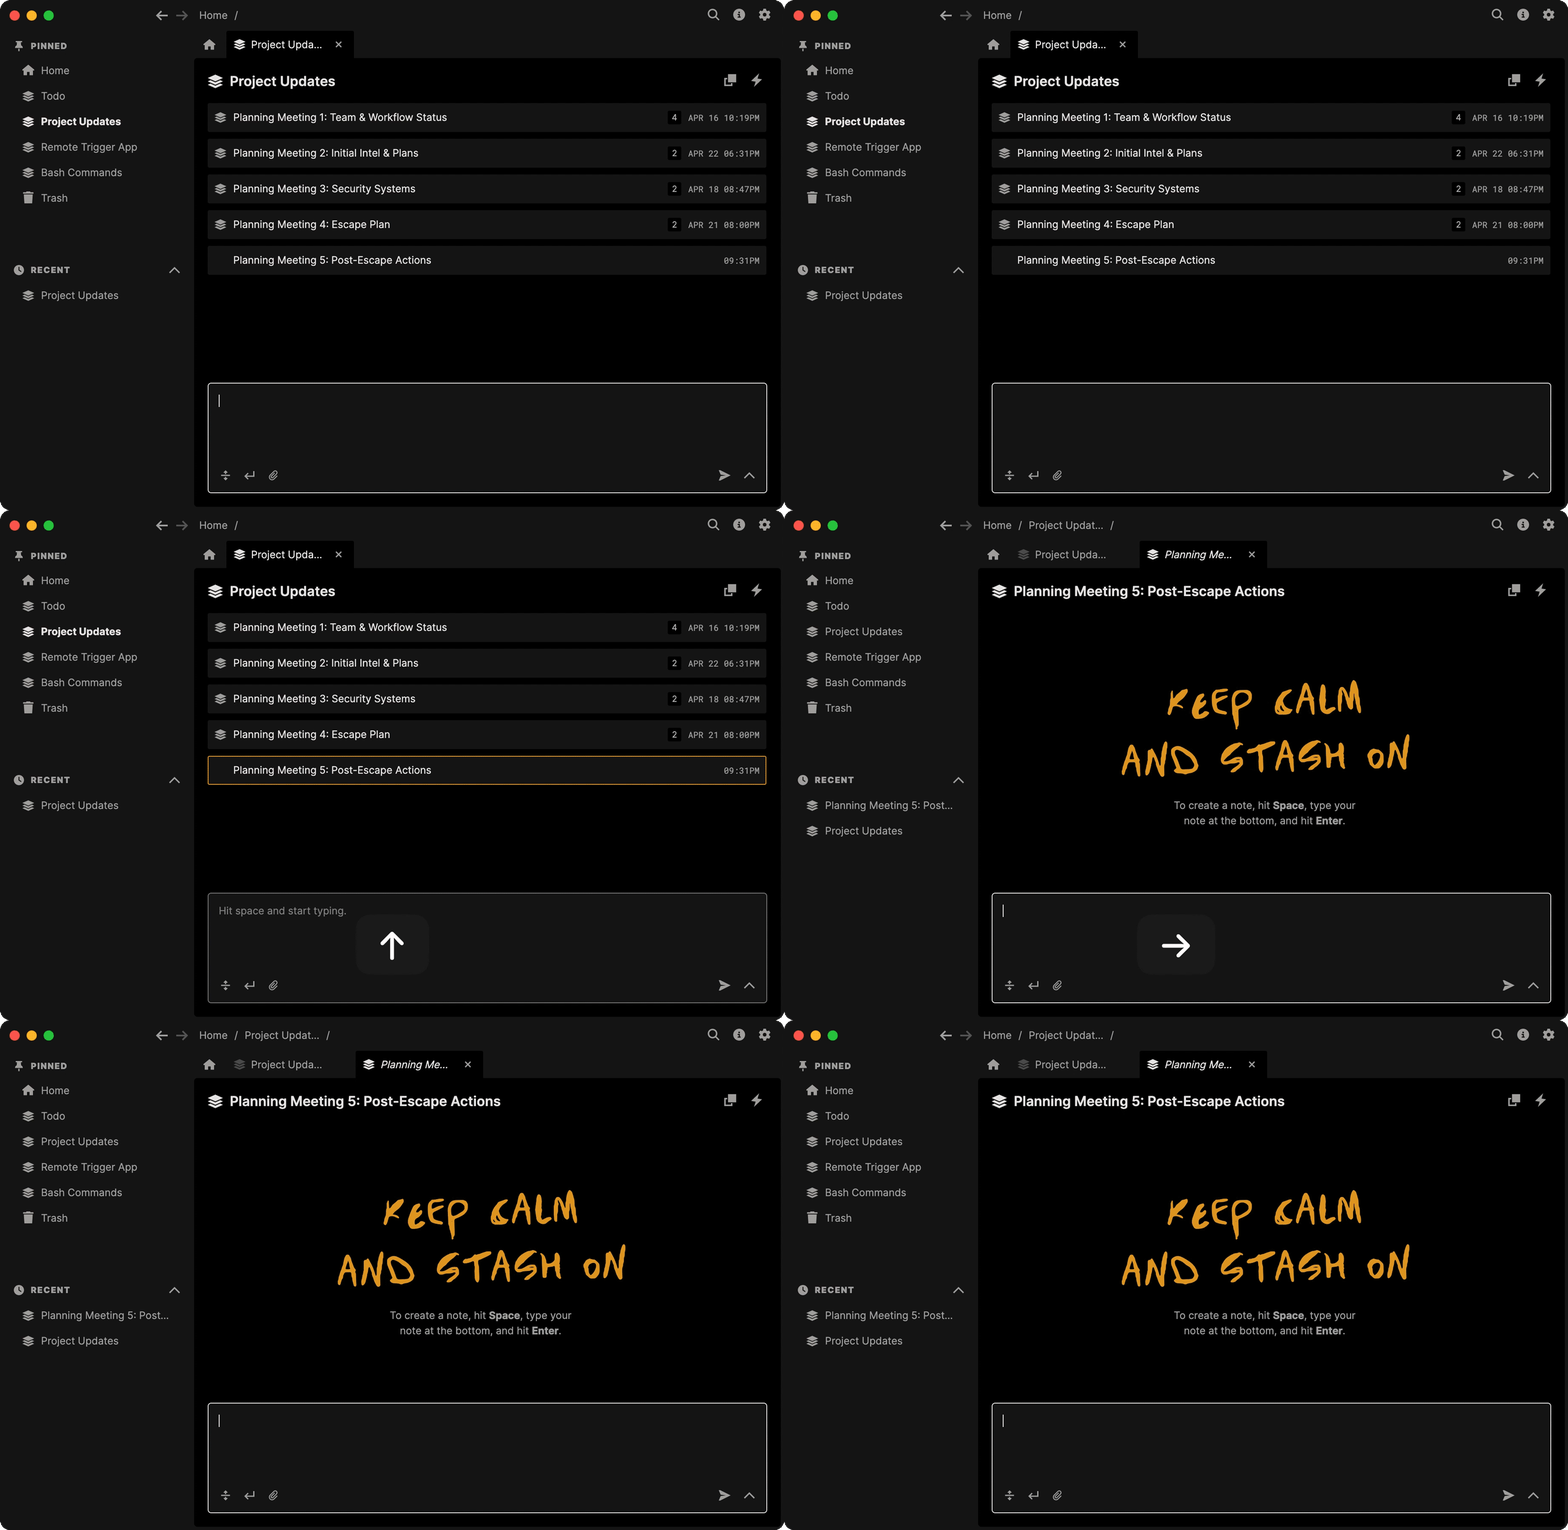
Convert a note into a stash
First, create a note if you haven't already, using the text box at the bottom. Then, open the note in a tab by using your UpArrow to select the note and RightArrow to navigate in. Add a sub-item.

Alternatively, hit enter to add a sub-item directly in the detail panel.
Re-order notes
You can re-order notes with drag and drop or with your keyboard.
To move a note upward without leaving your keyboard, select it and then hit cmd / ctrl ↑. You can move a note down one position with cmd / ctrl ↓.
See more ways to Reorder Notes.

Move notes to stash
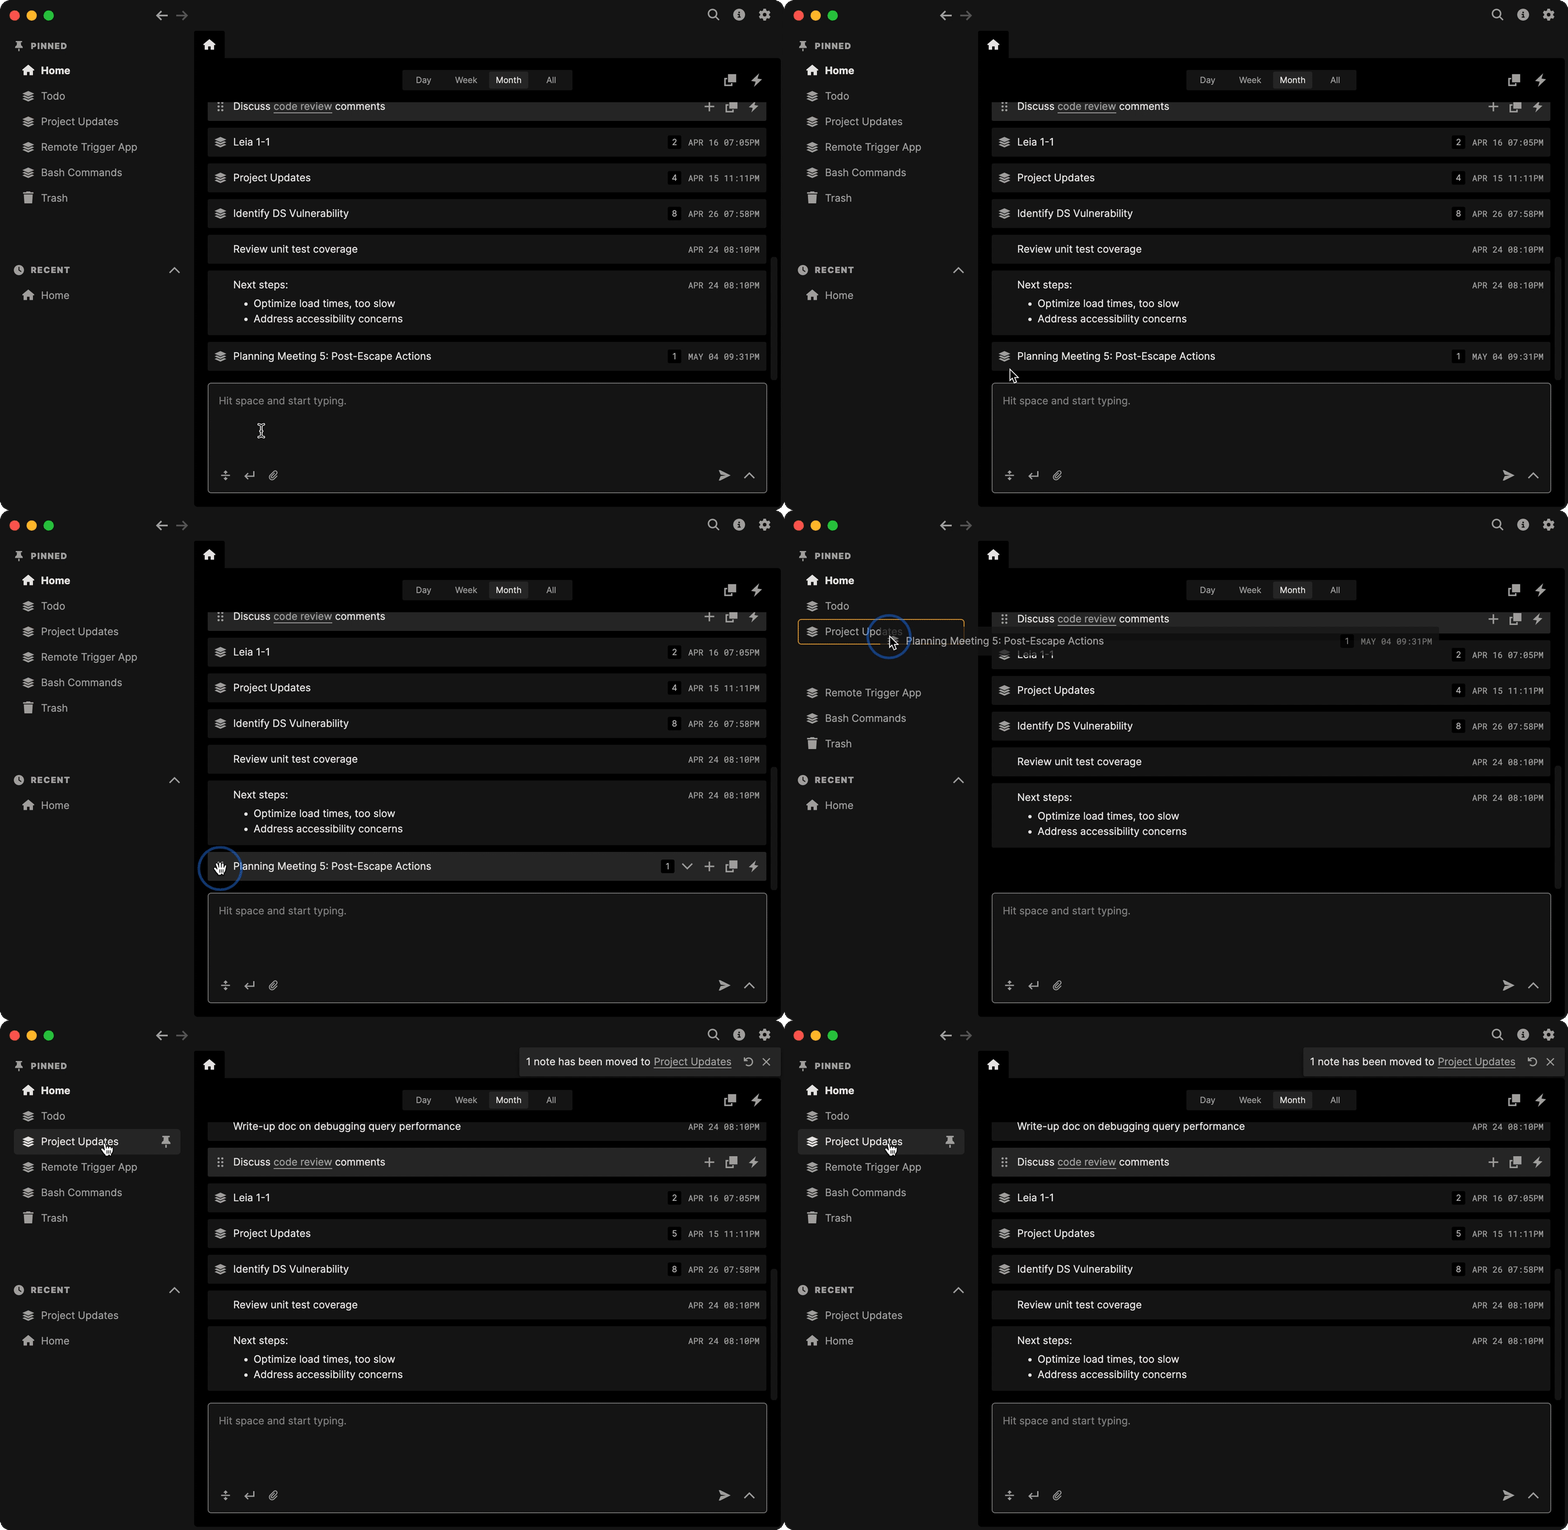
To move notes to a stash, you can use drag and drop or use the M command.

You can also use the CMD-K menu and select the Move option, then choose the stash you'd like to move the selected notes to.

Drag and drop
Use drag and drop to move notes into stashes or re-order your notes.
Assign color
You can assign a color to a note or stash by selecting it and hitting L(or shift L for the current stash). Select the color with ← / → followed by enter, or by clicking on a color.

Mark as done
You can mark a note as done using the X key. This will make the note appear more faded out than a regular note. You can customize how Stashpad handles completed todos. See more in Todos.

